Affordable Plumbing Engineers for Water Heaters
Seattle Water Heaters

How To Flush a Water Heater
It could be time to flush out your water heater if it is starting to show indications of wear and tear or if your water heater is a few years old. Sediments can build up in the bottom of your water heater if you don’t flush it at least once a year as part of routine maintenance. The water heater’s efficiency may be lowered and it may sustain damage (like as a broken heating element) if the bottom of the heater is covered with silt.
You might never experience issues with sediment build-up if you routinely flush the water heater and expansion tank. In order to increase the lifespan of your appliance and maintain its heating effectiveness, learn how to flush and clean a water heater.
Procedure for Flushing Your Water Heater
-
Turn off the power supply
A water heater’s function is to heat a lot of water using either gas or electricity as the fuel source. Turn off the fuel source before flushing the water heater to prevent harm to the appliance.
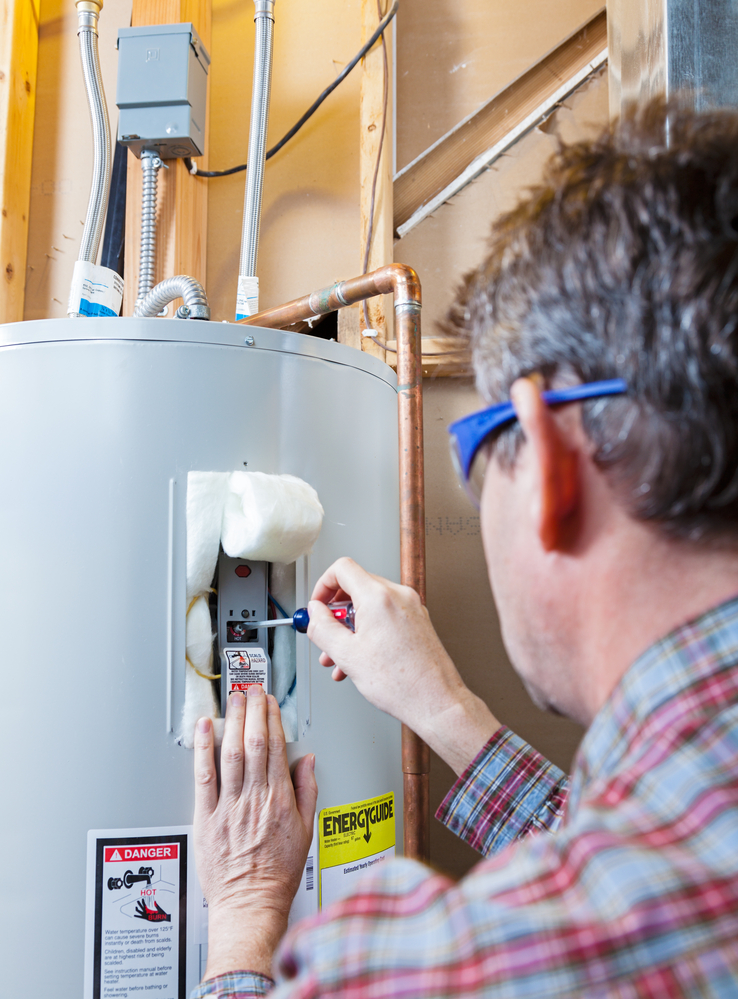
If your water heater runs on gas, then you should look for a thermostat on the outside of the appliance. It is normally found where the gas pipe enters the appliance and has a red knob. Take note of the current temperature setting, then set the thermostat to the lowest position—which should be labeled “Pilot”—and leave it there.
You must turn off the electricity from the breaker box or fuse box if your water heater is electric. Locate and turn off the branch breaker for the water heater in the breaker box. If you don’t know which branch breaker controls the water heater, you’ll need to flip the main switch to cut off electricity throughout the entire house.
For use boxes, you will need to take out the fuse for the water heater. If you don’t know which fuse controls the water heater, you can turn off the electricity to the entire house by flipping a switch or, in the absence of a lever, by removing the main fuse for the building. Just bear in mind that since the entire house won’t have electricity, you’ll need to work with a flashlight or work lamp.
-
Turn off the water supply valve
The water heater can no longer heat the water inside the tank when the heat is switched off. Turn on a nearby faucet and let the hot water from the tank drain into the sink (while the tank is being refilled with cold water) if you are worried about the possibility of getting burned. Even though it isn’t necessary, working with cold water is safer.
Turn off the water supply valve once the majority of the hot water has been replaced with cold water. This valve is usually found towards the top of the tank, where the cold-water pipe enters.
-
Connect a garden hose to the drain valve
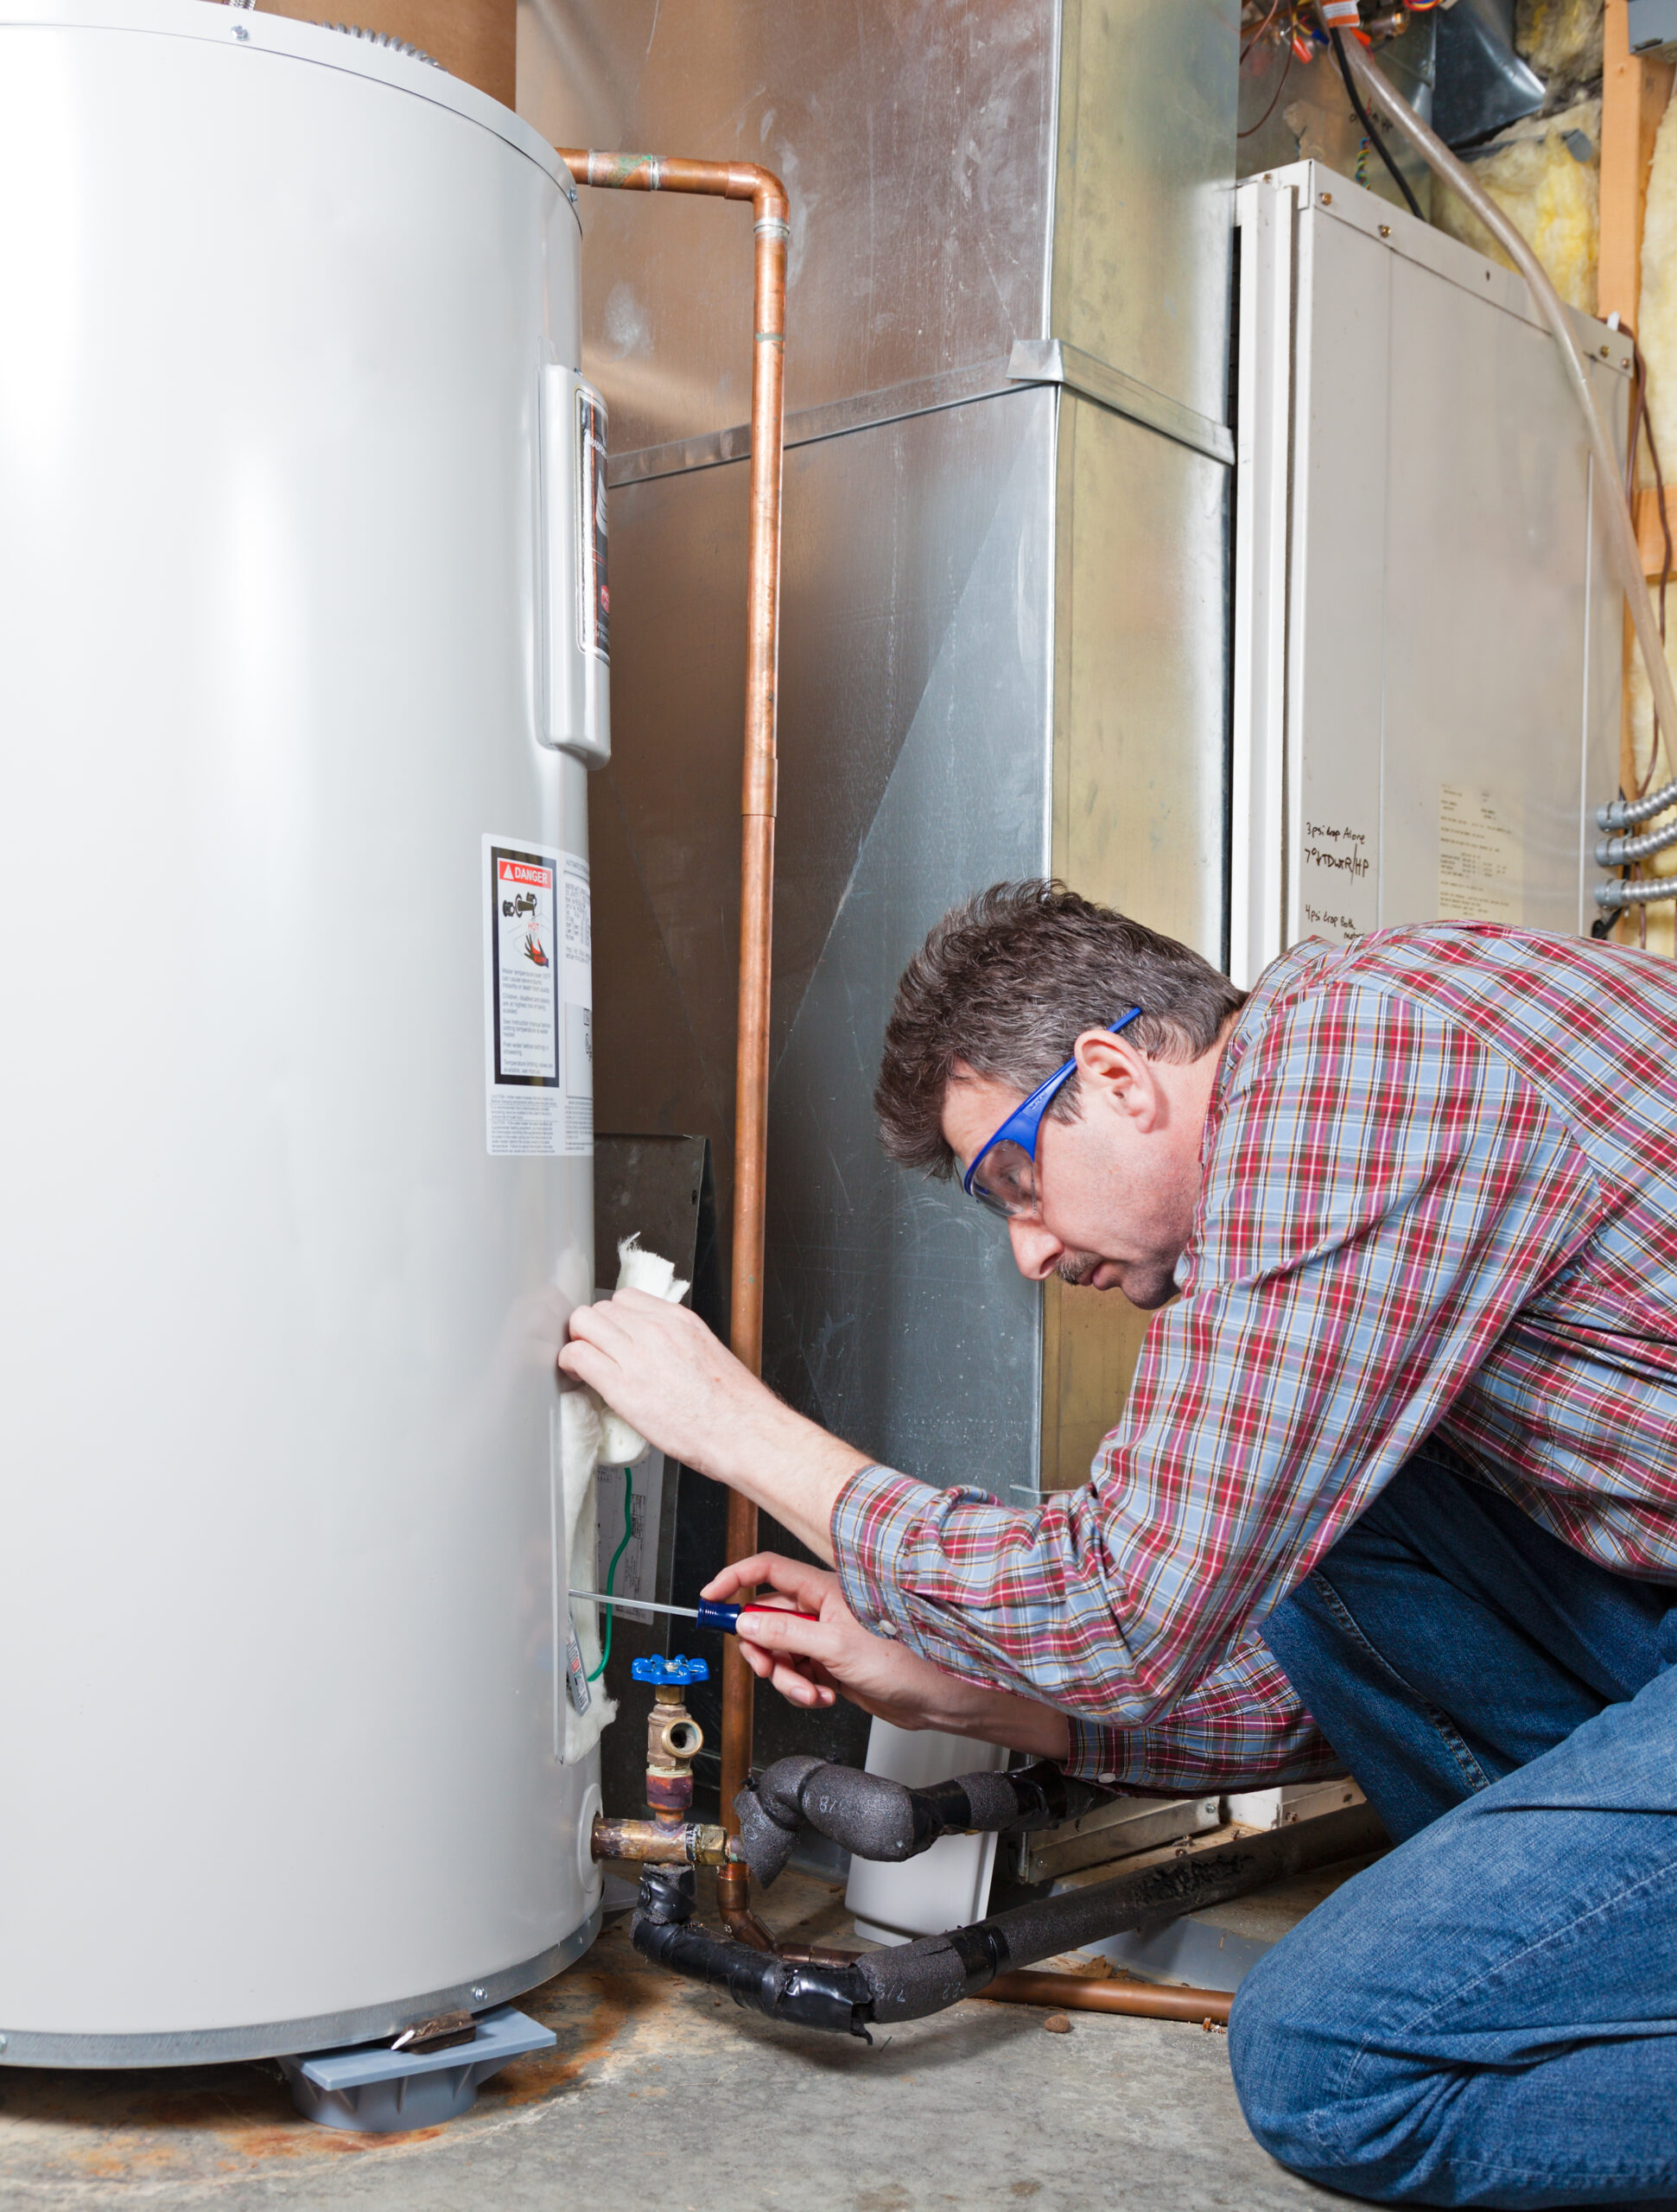
Find the drain valve at the water heater’s base, and use a set of channel locks to connect a garden hose to it. The drain valve resembles an ordinary hose bib and an outside faucet in appearance, though it could be made of plastic rather than metal. If you can’t find it right away, it might be concealed by a removable cover.
The garden hose should be attached to the drain valve, and the other end should be extended to a location where the tank may securely drain. Remember that you will be dealing with scalding hot water if you didn’t let the water cool overnight or switch the hot water out for cold water after shutting off the electricity.
To protect yourself from hot water and to stop any water that may spray from the connection, choose a location that won’t be harmed by the force, temperature, or volume of the water. You should also cover the drain valve and hose connection with a towel.
Open a nearby hot water faucet to avoid generating a vacuum in the water lines, which could keep water trapped in the tank. Simply leave the faucet open if you’ve previously opened it to switch over the hot water for cold.
-
Turn on the drain valve to let the water out
The garden hose’s other end needs to be placed in a suitable drainage area and firmly fastened to the drain valve at the other end. To start draining the water from the tank, open the drain valve. It is possible to improve the flow of water through the drain by carefully opening the pressure-relief valve at the top of the water heater, but it is crucial to keep a bucket underneath the discharge line to catch any water before it may drain onto the floor.
Be careful not to strain the fixture because the drain valve can be several years old. Don’t merely use more force if it appears to be stuck. The valve could be broken, causing a strong spray and flood of scalding water.
If you encounter this issue, you might need to postpone the project until the drain valve can be replaced because fixing a defective drain valve is best left to a qualified plumber or water heater specialist. For those do-it-yourself enthusiasts who think they can replace the valve on their own, keep in mind that if your water heater is a rental, the rental company can insist that you call a certified technician or plumber.
-
Examine the water
The purpose of flushing the water heater is to remove any sediment that has accumulated in the tank’s bottom, so after allowing the water heater to drain for about 10 to 20 minutes, fill a bucket with it. Check to see if the water is clear and if there are any sediments in the bucket’s bottom after letting it settle for about 60 seconds undisturbed.
You will need to keep draining the tank if the water is hazy or the bucket has sediments at the bottom. After draining for a further ten minutes, check again. Repeat this procedure until the water is clean and the bucket is free of any particles.
-
Close the drain valve and take off the garden hose
You can close the drain valve and take the garden hose off once the water is clear and shows no evidence of particles. Until the hose is outdoors or over a drain, make sure to keep the hose’s end pointed up. Do not close the hot water or pressure relief valves in the nearby sink or bathtub. To help bleed air from the line, the valve and faucet should stay open.
-
Open the water supply valve
To help bleed air from the water line, keep the hot water valve in your neighboring sink or bathtub open. Allow the tank to fill by opening the water supply valve. The open faucet and the pressure-relief valve will gradually force the air at the top of the tank out as it fills.
Wait until the tank is full before turning on the electricity/gas. When the tank is full, water will be flowing at full pressure through the open faucet (letting you know that the tank is full). It is now safe to turn on the water heater’s electricity or, in the case of a gas water heater, to reset the thermostat.
Turn off the open faucet and close the pressure-relief valve then wait for 20 to 30 minutes. At the closest faucet, check the water’s temperature.
What If My Water Heater is Tankless?
The procedure just described relates to conventional water heater tanks, however sediment can also harm tankless water heaters. For tankless heaters, there is a whole other procedure that uses a pump to move water throughout the system. A tankless water heater flush kit is typically available at your local hardware shop.
Benefits of Flushing Your Water Heater
The majority of water heater manufacturers advise flushing the tank once in a few months to get rid of silt, sediment, and mineral scale accumulation. The vast majority of property owners do not flush their tanks on a regular basis, and some even completely forego this necessary maintenance procedure. Spend your time/money on routine water heater flushes and enjoy the following benefits.
-
Removes sediment
Sediment build-up inside the tank is one of the main causes of water heater failure. If debris accumulates at the bottom of your water heater, it gets more challenging for your appliance to operate as intended. If your water heater is electric, this build-up may occur on its electrodes, which could cause further issues in the future. Fortunately, sediment build-up issues are fixable with routine flushing to keep your water heater in good condition.
-
Noise reduction
Scale development is frequently to blame when water heaters start generating popping, crackling, or pounding noises. Don’t be deceived if the noises seem to stop on their own all of a sudden; what has actually happened is that the scale layer inside the tank has frozen to the point that water can no longer easily percolate through it. The best course of action is to descale and flush your water heater as soon as it starts to make noise.
-
Warranty protection
The manufacturer will be more likely to honor the guarantee should the tank fail, if you routinely flush your water heater. The majority of warranties do not cover scale failure, therefore if your tank fails for another reason and you want coverage, you must have evidence that this cause (scale failure) can be ruled out. By doing routine flushing, you would have proof to protect your warranty.
-
Lowers your operational costs
The amount of energy required to heat your water will increase based on how difficult it is for the heating element to transfer heat to the water. Therefore, utility costs will increase. Additionally, if certain components succumb to corrosive scale deposits or clogging sediments, you can find yourself spending more on maintenance. Flushing your hot water tank can significantly save expenditures.
-
Increases heating efficiency
The process of heat transfer gets more challenging the more foreign material has accumulated on the electrodes of an electric water heater and/or on the bottom of the water heater tank. To put it another way, heating water to the desired temperature requires more time. Problems with hot water running out can result from this. Fortunately, a quick water heater flush will speed up your water heater and restore it to full efficiency.
-
Extend the life of your appliance
There are two ways in which scale building causes early water heater failure. First off, scale in an electric water heater can cause the electrodes to prematurely fail, leaving you without hot water. Scale accumulation acts as a form of insulating layer between the heat source and the water in a gas water heater. Because of this, the metal at the bottom of the tank heats up more than it should and could eventually fail or leak as a result of being under too much stress. Routine flushes are inexpensive in comparison to replacing a water heater, which costs quite a lot.


The Cost of Flushing a Water Heater
Depending on the type and size of the water heater you have, the cost to flush it may differ. Flushing water heaters often take less than an hour to complete and only use a few gallons of water. This service normally costs between $75 to $200 on average.
How Do You Clean Out a Hot Water Heater of Thick Sediment?
You can clear sediment from your hot water heater in a few different methods. Using a unique sediment removal tool is one option. The majority of hardware stores sell this tool, which is made especially for removing debris from hot water heaters. Another option is to hire a professional to remove the sediment. Plumbers often have the equipment and expertise needed to remove sediment from hot water heaters in a safe and efficient manner.
Several steps must be taken if you choose to clear the silt on your own. The unit must first have its power turned off. After that, you must totally drain the tank. Begin using the sediment removal tool once the tank is completely empty. The tool should first be inserted into the tank and slowly moved around. Cover the entire bottom area of the tank as you use the tool in order to remove all of the sediment.
After all of the sediment has been removed, you can flush the tank using clean water. This will aid in the removal of any debris that has been left behind. The tank must then be refilled, and power must then be turned back on. It will be easier to make sure that all of the sediment has been removed if you give the machine a few hours to operate.


Water Heater Descaling?
It can be necessary to descale your water heater if it isn’t operating as effectively as it once did or if you notice a decrease in water pressure. Descaling is the procedure used to clean the interior of the tank of accumulated mineral deposits. This could help your water heater run more efficiently and last longer.
To descale your water heater, you can employ a few different techniques. You can buy commercial descaling products or make your own at home using white vinegar and water. Whichever approach you choose, make sure to properly follow the directions to prevent the unit from being damaged.
After removing the scale build-up, flush the appliance with fresh water to get rid of any leftover debris. After that, test the water heater to make sure it is operating properly before using it further.
Descaling your water heater on a regular basis will help avoid future build-up if you have hard water. Always refer to your owner’s handbook for detailed maintenance advice.
How to Remove Calcium Deposits from a Water Heater
In water heaters, calcium build-up can be removed in a few simple ways. Use a vinegar and water solution as a starting point. Pour water and vinegar into the tank in an equal ratio. Before flushing it out with fresh water, let it sit for a half-hour or an hour.
Use a commercial descaling solution if the vinegar and water combination doesn’t work. Pay close attention to the directions on the package. Clean water should be used to flush out the tank after the solution has had time to work.
You might need to descale your water heater more frequently if you have hard water than if you have soft water. To check the hardness of your water, purchase a test kit from your neighborhood hardware shop. Every six months to a year, depending on how hard your water is, you might need to descale your water heater.
In any water heater, calcium build-up can be a problem, but electric water heaters are particularly prone to it. You must take particular caution not to damage the heating elements if your water heater is electric. Follow the manufacturer’s directions carefully since vinegar and commercial descaling solutions can potentially damage the heating elements.
You won’t need to be concerned about damaging the heating elements if you have a gas water heater. Any of the aforementioned techniques can be used to remove calcium build-up from your gas water heater.
In comparison to other kinds of water heaters, tankless water heaters require more frequent descaling. This is due to the increased likelihood of calcium build-up caused by the high temperatures in tankless water heaters. Every six to twelve months, you should descale your tankless water heater.


What Can Dissolve Calcium Deposits?
Depending on how severe the problem is, there are a few different techniques to dissolve calcium build-up. White vinegar or lemon juice can frequently remove minor calcium accumulation. Simply use a cloth to apply one of these acids to the area, let it sit for a while, and then clean with a brush. You might need to use a stronger acid, such as hydrochloric acid or muriatic acid, for calcium deposits that are more difficult to remove. However, use with extreme caution because if not applied correctly, these chemicals can be caustic and harm surfaces. When handling them, make sure to carefully read the instructions on the label and put on safety clothing. If all else fails, you can always have tough calcium deposits removed by a specialist.
Can Water Heaters be Damaged by Hard Water?
One of the most frequent issues that homeowners have is hard water, which can be difficult on water heaters. Water heaters can be damaged by hard water, but it can also just limit their lifespan and cause a number of other issues.
It’s crucial to protect your water heater if you have hard water by taking the necessary precautions. This entails using a water softener, flushing the tank on a regular basis to remove sediment, and checking the anode rod for damage. These easy procedures can keep your water heater in good working condition and help it last longer.
It’s crucial to have your water heater inspected by a professional if you’re noticing issues with it. They can offer suggestions for replacement or repair and assist in determining whether the issues are caused by hard water. Hard water can sometimes be too harmful for a water heater to handle, necessitating the purchase of a new one.
Your water heater can sustain significant damage from hard water, which can also result in increased energy costs. To avoid any issues, it’s crucial to get your water heater routinely serviced if you use hard water. There are a few things you can do to help safeguard your water heater if you do have hard water:
- Use a rust inhibitor that has been approved
- Schedule regular maintenances for your water heater
- Drain your water heater frequently to get rid of any built-up sediment
- Get a water softener installed
These recommendations can help in preventing hard water from causing damage to your water heater.
Call Seattle Water Heaters if you want to have the water heater in your house or place of business flushed out. Your water heater will live longer if you perform this maintenance task, so why not do it!


